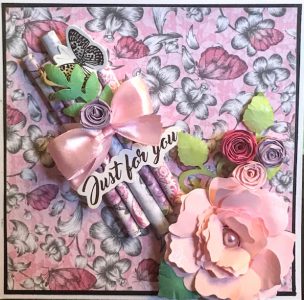
I know I have said this before, but I now have a new favorite subscription box! This stencil kit is truly amazing. I made so many cards already and I have several more backgrounds that I didn’t even make into cards yet. Let’s take a look at what is in this month’s kit…
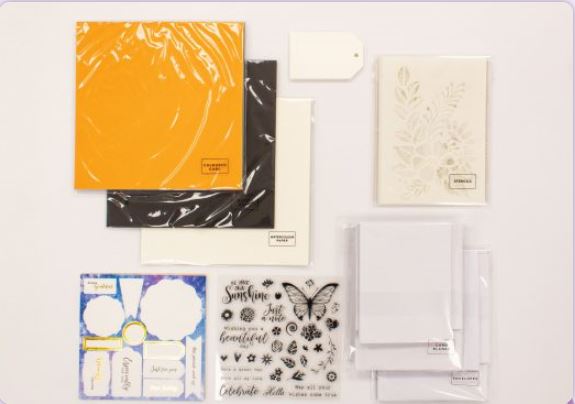
Sara Davies, the owner of Crafter’s Companion, has given you just about everything you need to make truly beautiful cards. The June kit includes 185 elements in total! You will get 10 stencils, 33 clear acrylic stamps, watercolor cardstock, 12 die-cut tags, 18 card blanks in three different sizes with coordinating envelopes, black cardstock, foiled die-cut toppers and colored cardstock. My kit was delivered with auto-ship through HSN as always. You can check out Crafter’s Companion website for more information. This kit is a wonderful bargain. Each kit offers different items and will show you new techniques.
There is a Facebook group that you can join once you subscribe which provides lots of community support and loads of examples; plus, Sara also has a monthly card kit site that you can refer to for demos/project pages.
In addition to this kit, I did use a few extra items. I used a low tack tape to hold my stencils and papers in place. There are so many kinds of tape you can use, but I have most success with micropore tape. It is inexpensive and does not ruin your papers when you peel it off. All of the inks used were Spectrum Noir Harmony inks. I also used Crafter’s Companion nesting dies to add some fun shapes to my cards, and I dipped into some of my old subscription boxes for ribbon, pearls, and rosettes. To secure my projects, I used a combination of hot glue and collall wet glue for most of the projects, but I also used a 3-D silicon glue to help raise some of my elements. Crafter’s Companion sells a 3-D glue gel that adds dimension depending on how thick you lay it on. I highly recommend this glue!!! I would also recommend the Crafter’s Companion glass mat. It is a true game changer. Once you work on a glass surface you will agree!
So I have lots of samples to share… let me know if you have questions on any of the techniques I used……
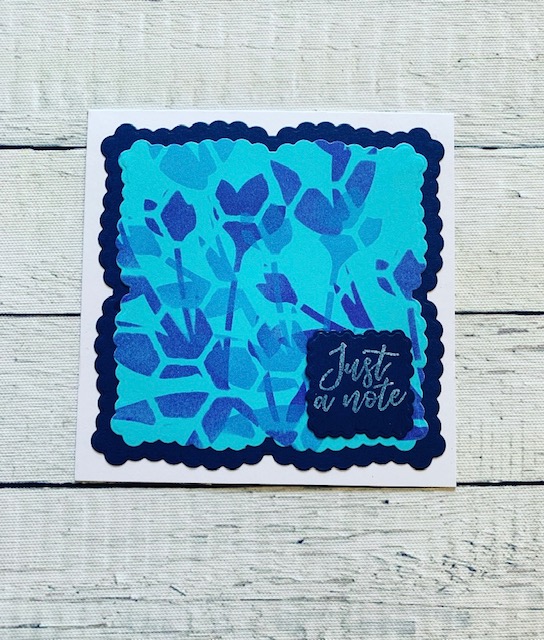
Try inking the background with one stencil on white cardstock and then keep the stencil on while you stamp over the stencil for this effect…
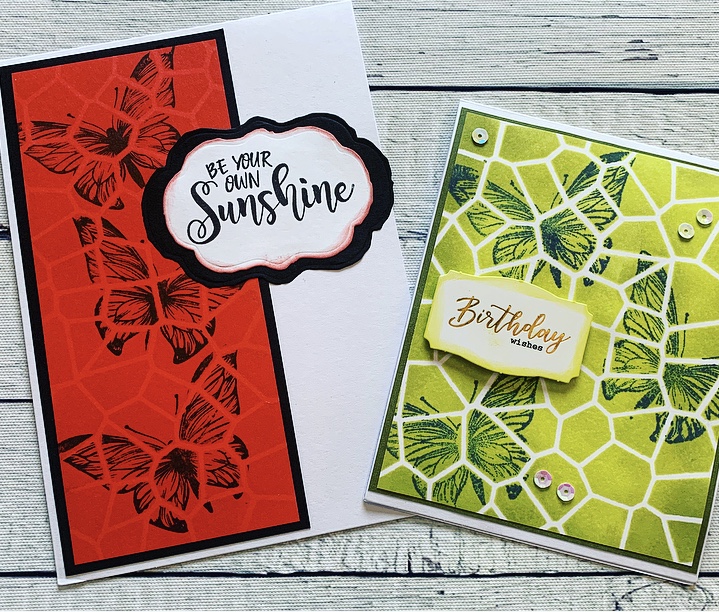
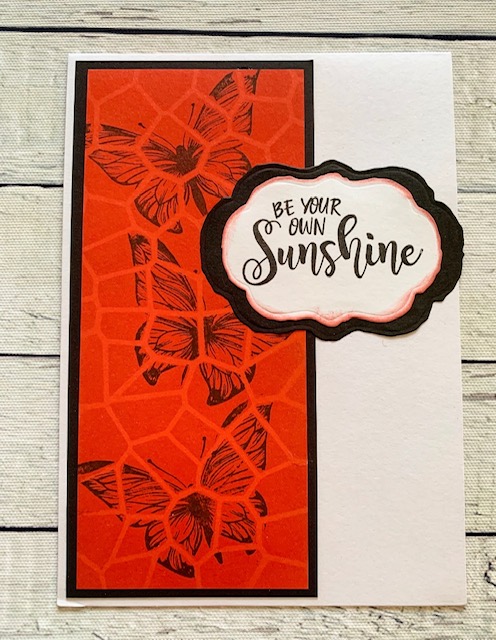
This is the same technique but I started on red paper (notice the lines are red and not white because of the base color)…..
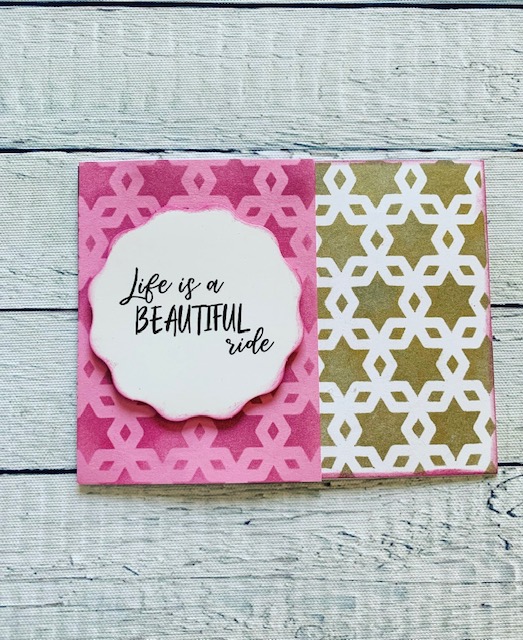
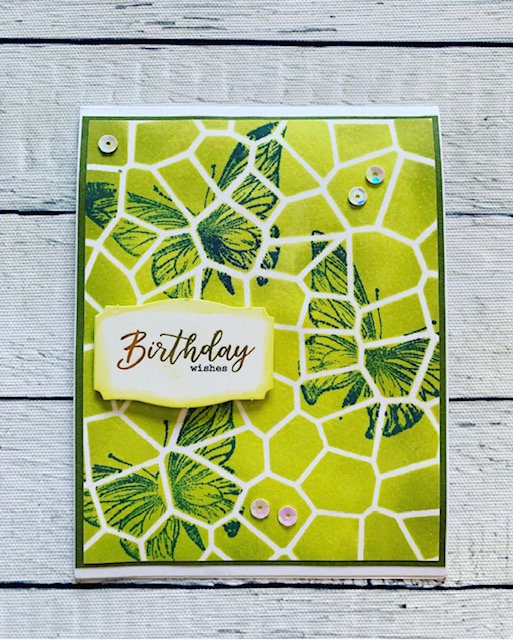
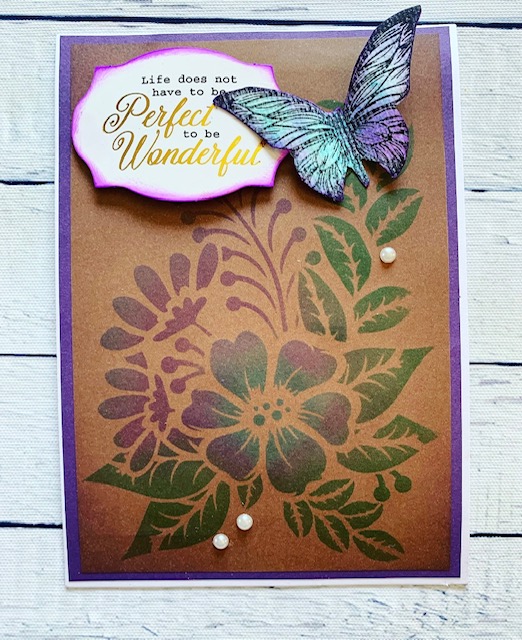
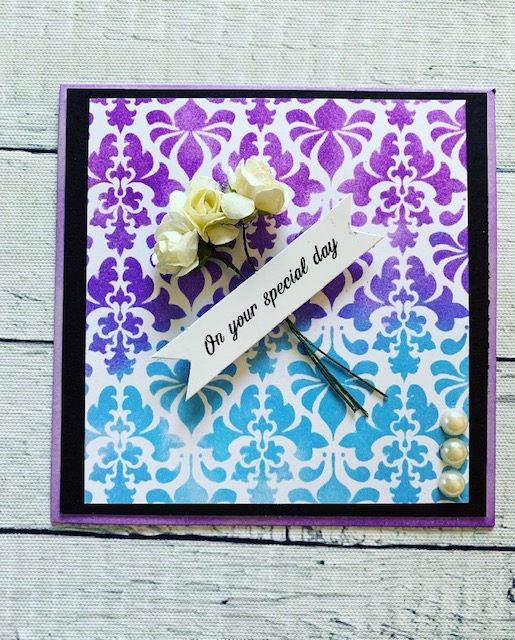
For this, I taped two stencils together and inked in one color then shifted the stencils and inked in another color…
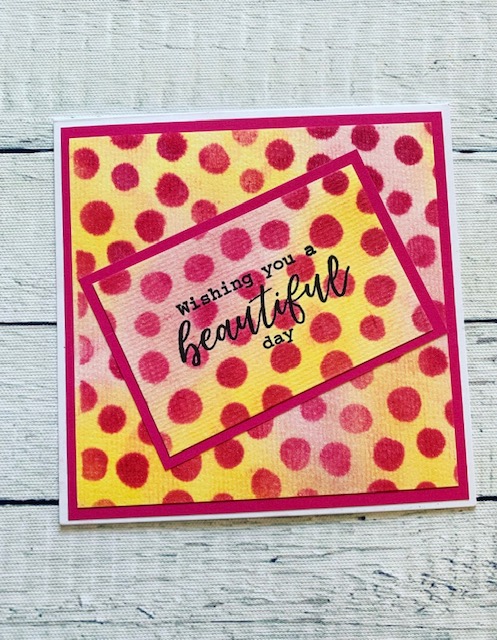
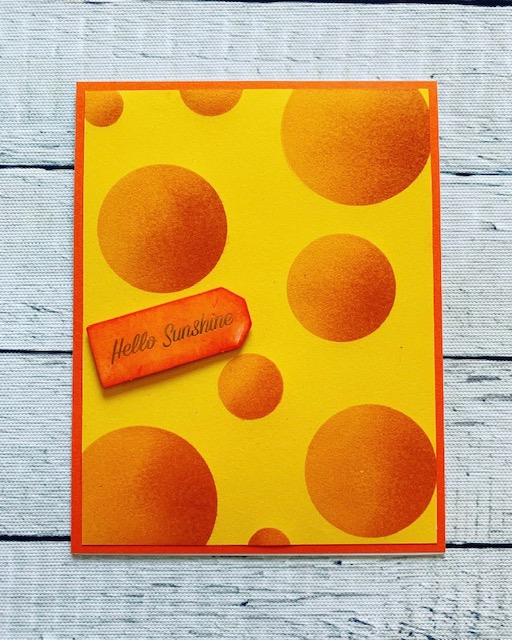
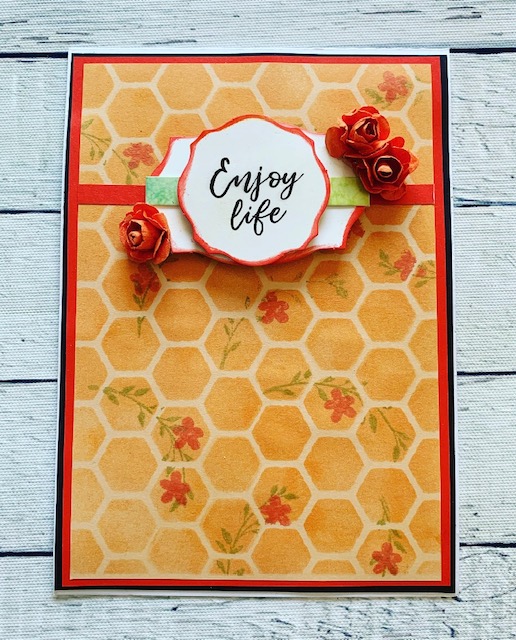
I used the large circle stencil for the next card and first went over the yellow paper with orange and then blended in a bit of red for shading…
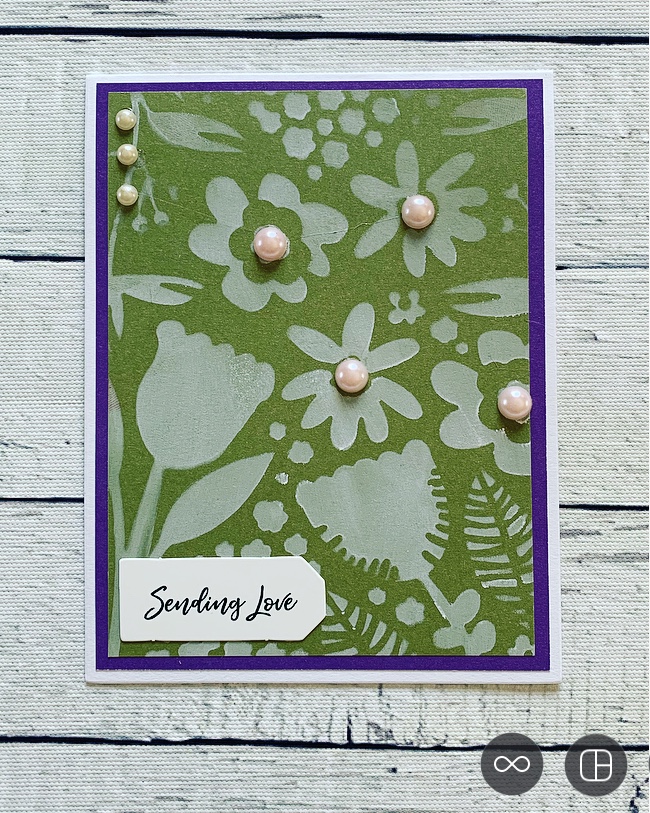
You can blend with multiple colors …..
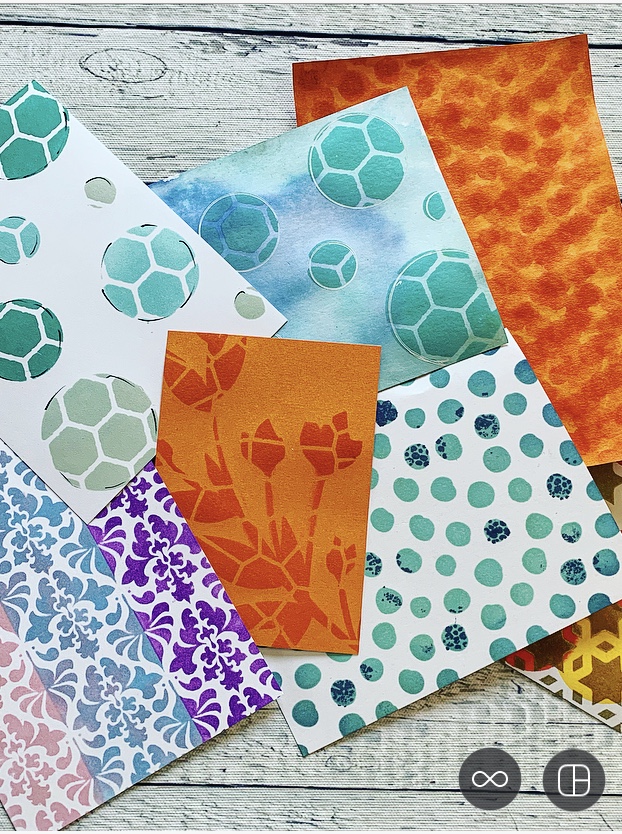
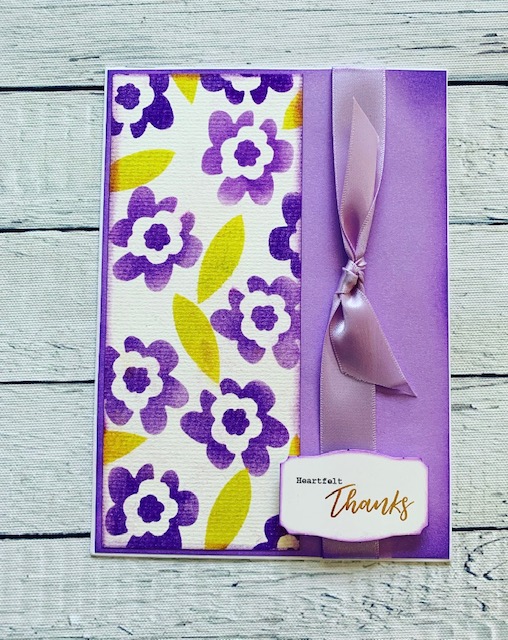
These are a few more backgrounds that I made but they have not made into cards yet… remember you can tape multiple stencils together for a great effect or you can shift stencils for a different effect. Also, you can change the base paper color for a different look as well. Remember tape is your friend!! Not only use it secure your work, but you can also tape off areas for new looks too!

For this last card, I taped off one flower and one leaf and I just kept moving the stencil to create my own background!!
I hope you will try some of these techniques – there is no right or wrong way to do this!! The possibilities are endless!!! Please share with me any questions and I would love to see what you create too so please feel free to share! Happy Crafting!!

These are absolutely amazing! thank you:)
LikeLike
Thank you so much!!!
LikeLike
Wow lots of great ideas. I was so idealess now off to make lits. Thank you
LikeLike
You are very welcome! I’m glad this helped!
LikeLike